

UITableView
So let’s begin with an ordinary single-view template for iOS. Title the venture, and go straight to the Major.storyboard file. Choose your view controller, delete it and create a brand new UITableViewController scene.
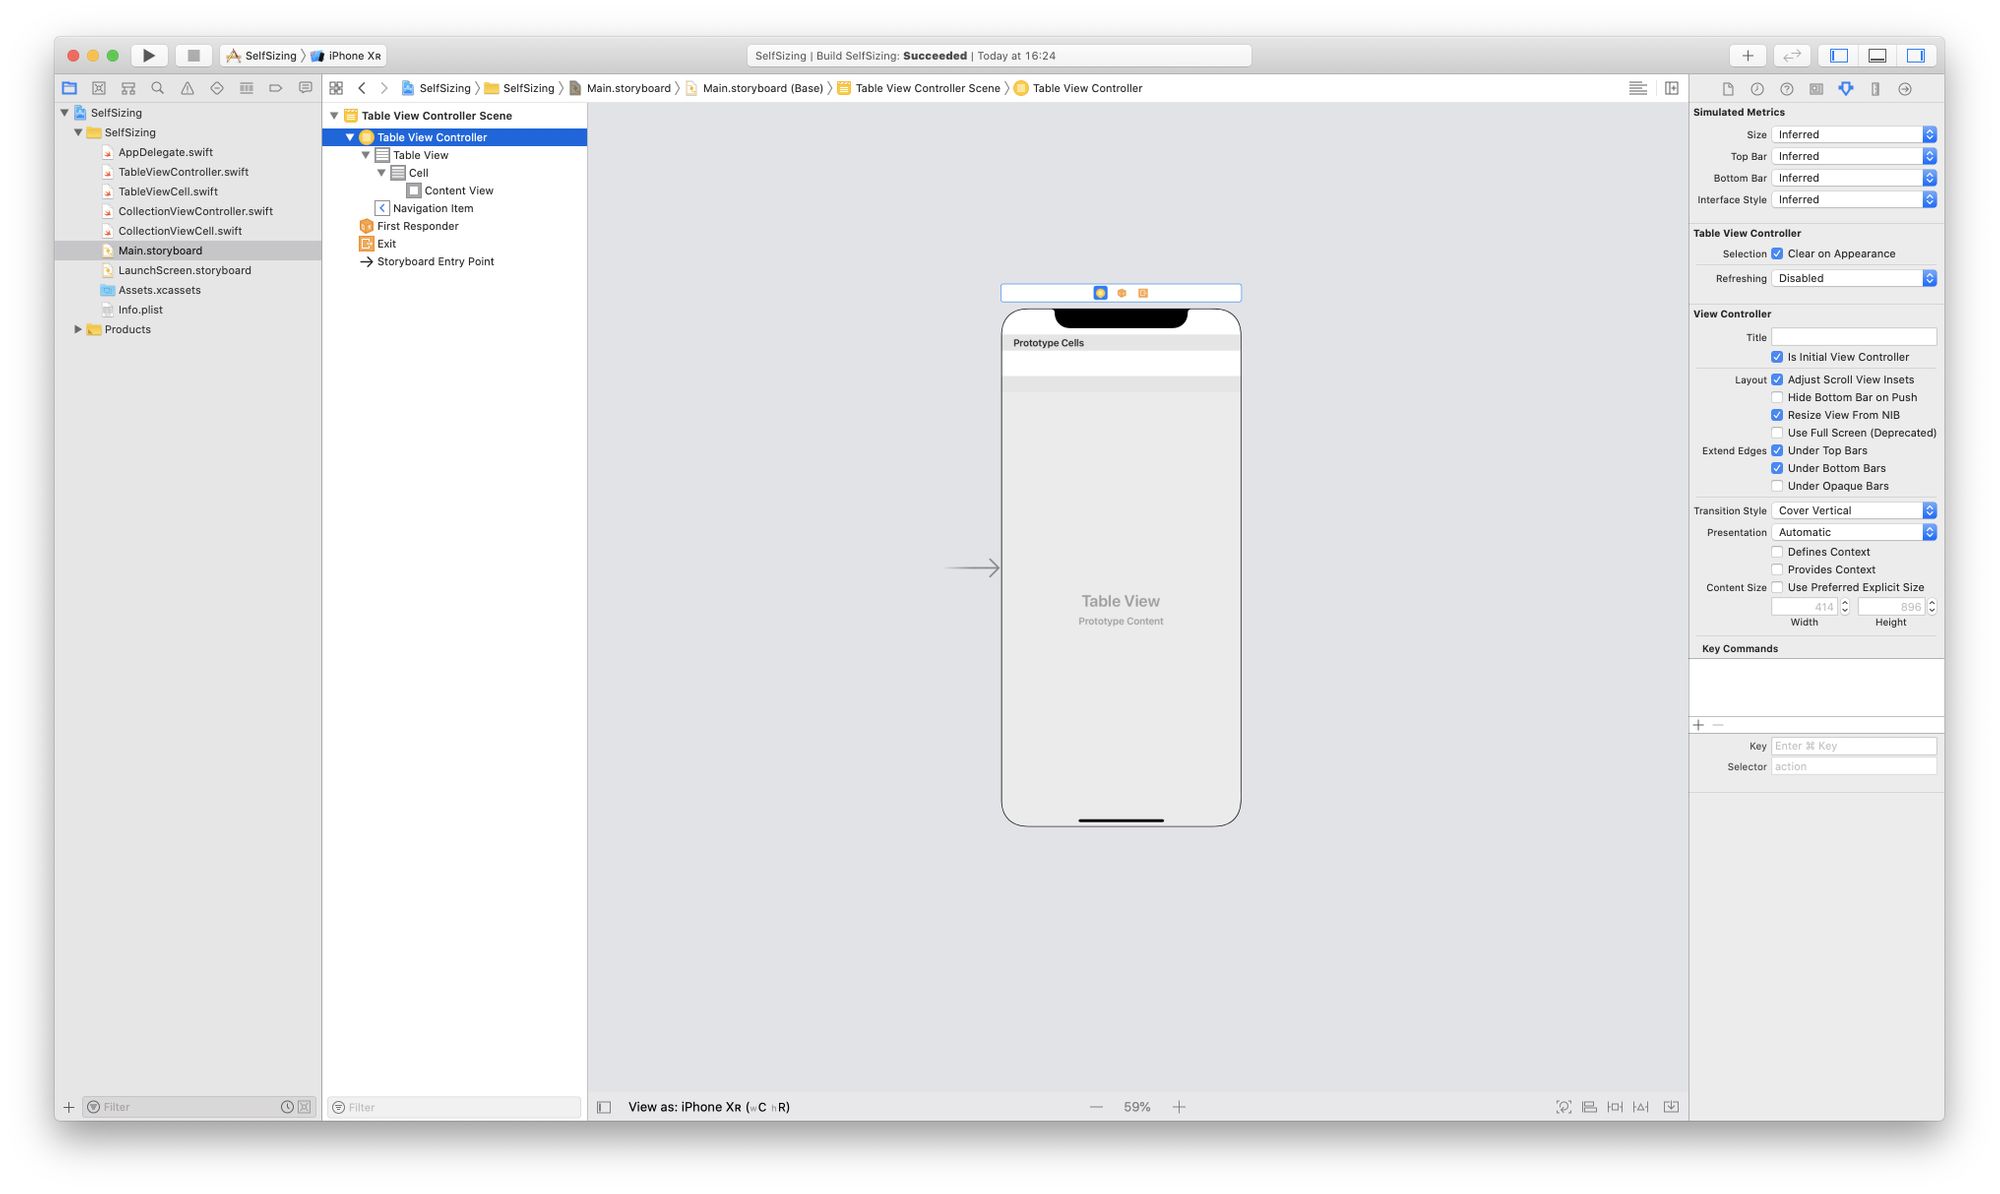
Set the desk view controller scene as preliminary view controller and create a TableViewController.swift file with the corresponding class.
import UIKit

class TableViewController: UITableViewController {

    var dataSource: [String] = [
        "Donec id elit non mi porta gravida at eget metus.",
        "Integer posuere erat a ante venenatis dapibus posuere velit aliquet. Cum sociis natoque penatibus et magnis dis parturient montes, nascetur ridiculus mus.",
        "Duis mollis, est non commodo luctus, nisi erat porttitor ligula, eget lacinia odio sem nec elit. Vestibulum id ligula porta felis euismod semper. Nullam id dolor id nibh ultricies vehicula ut id elit. Nullam quis risus eget urna mollis ornare vel eu leo.",
        "Maecenas faucibus mollis interdum.",
        "Donec ullamcorper nulla non metus auctor fringilla. Aenean lacinia bibendum nulla sed consectetur. Cras mattis consectetur purus sit amet fermentum.",
        "Cum sociis natoque penatibus et magnis dis parturient montes, nascetur ridiculus mus. Maecenas faucibus mollis interdum.",
    ]
}

extension TableViewController {

    override func tableView(
        _ tableView: UITableView,
        numberOfRowsInSection part: Int
    ) -> Int {
        return dataSource.depend
    }

    override func tableView(
        _ tableView: UITableView,
        cellForRowAt indexPath: IndexPath
    ) -> UITableViewCell {
        let cell = tableView.dequeueReusableCell(
            withIdentifier: "Cell",
            for: indexPath
        ) as! TableViewCell

        cell.dynamicLabel?.textual content = dataSource[indexPath.row]
        cell.dynamicLabel.font  = UIFont.preferredFont(forTextStyle: .physique)

        return cell
    }
}
The setup is de facto self-descriptive. You have received a string array as information supply, and the required implementation of the UITableViewDataSource protocol.
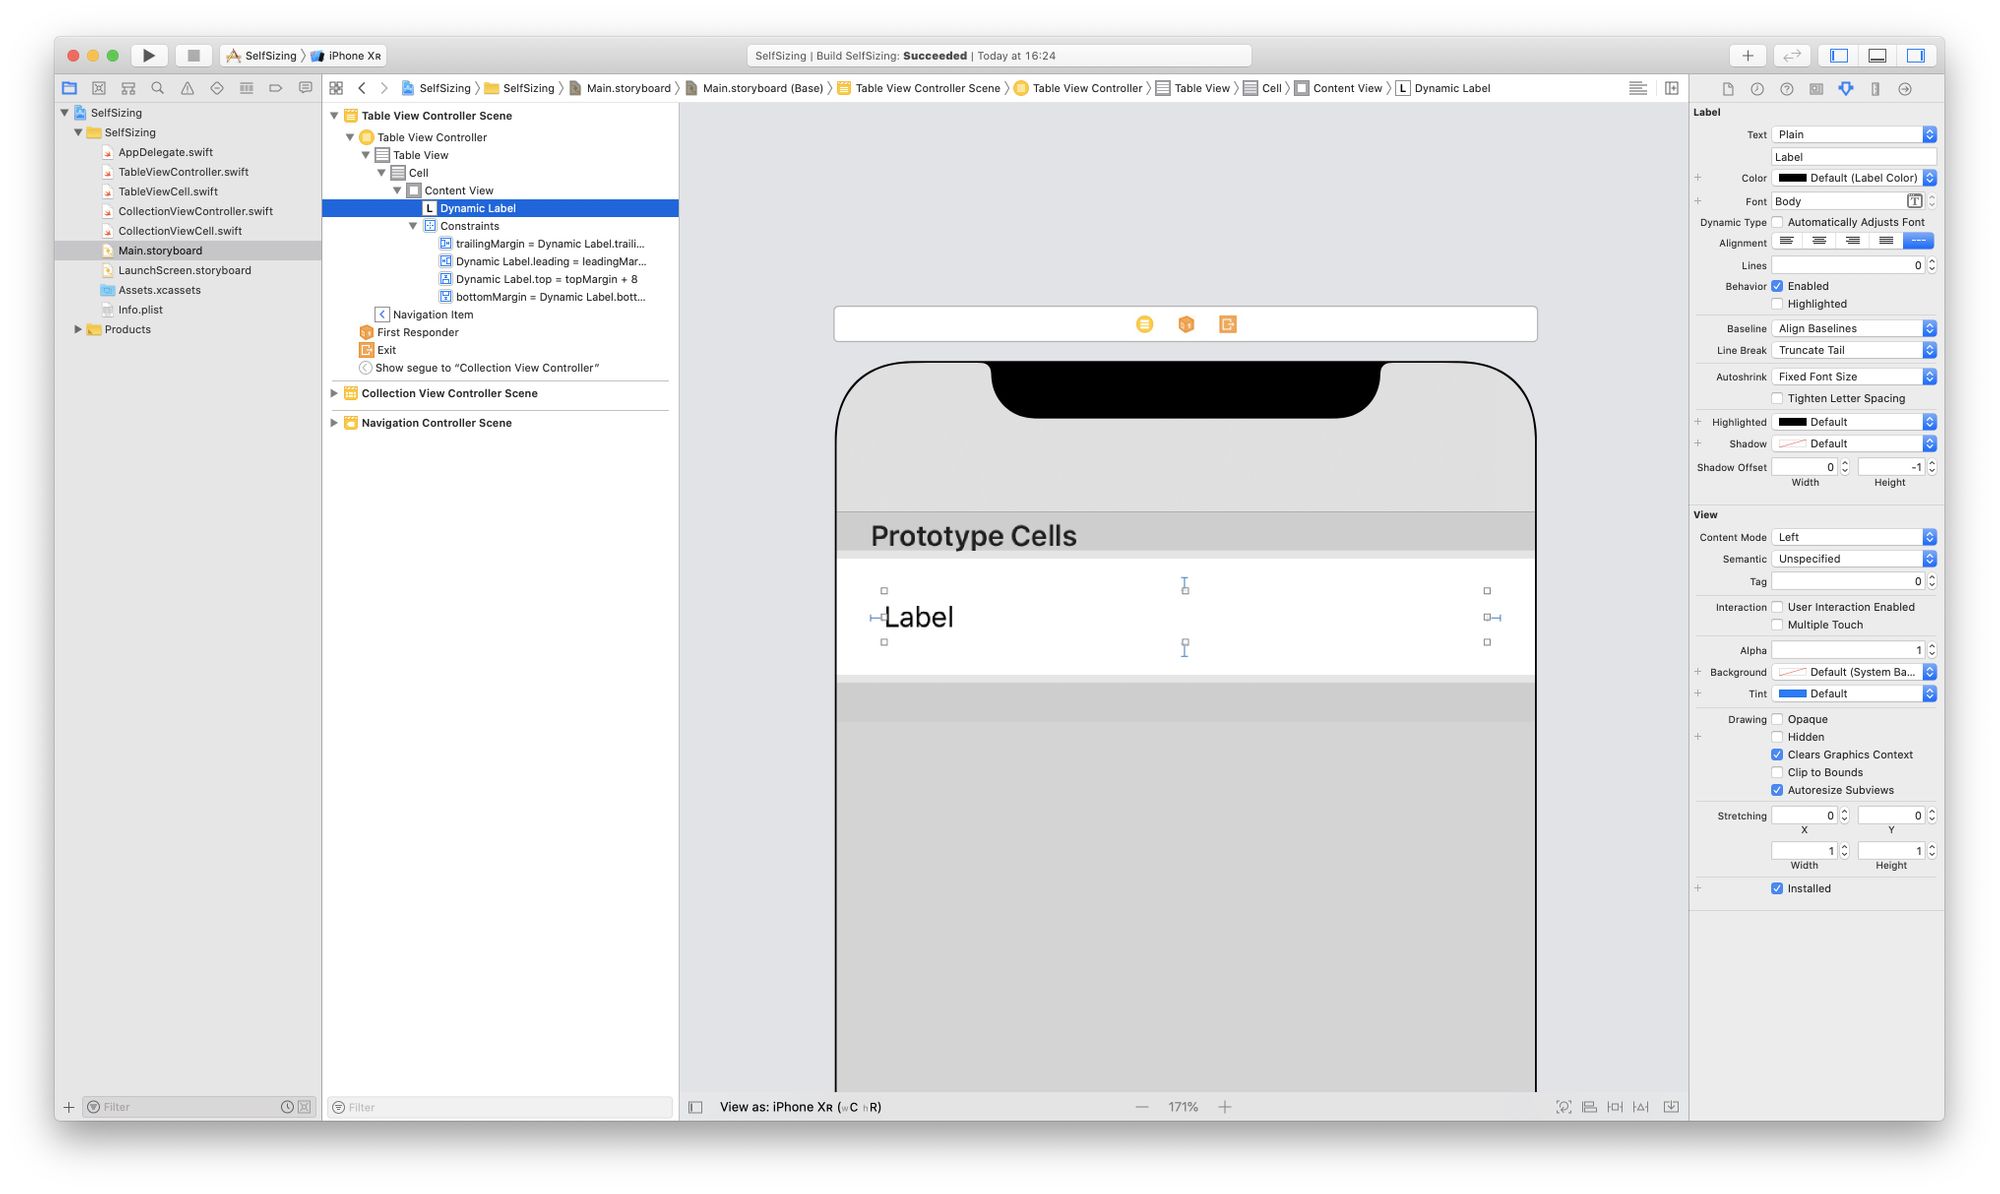
The one factor that’s lacking is the TableViewCell class.
class TableViewCell: UITableViewCell {

    @IBOutlet weak var dynamicLabel: UILabel!
}
First, create the category itself, then with interface builder choose the desk view controller scene and drag a label to the prototype cell. Set the category of the prototype cell to TableViewCell. The reusable identifier might be merely "Cell". Join the dynamicLabel outlet to the view. Give the label prime, backside, main, trailing constraints to the superview with the default worth of 8. Choose the label, set the font to physique fashion and the strains property to zero. That is how easy it’s. 😂
Now you might be nearly prepared. You simply have to set the estimated row peak on the desk view. Contained in the TableViewController class change the viewDidLoad methodology like this:
override func viewDidLoad() {
    tremendous.viewDidLoad()

    tableView.estimatedRowHeight = 44
    tableView.rowHeight = UITableView.automaticDimension
}
The estimatedRowHeight property will inform the system that the desk view ought to strive to determine the peak of every cell dynamically. You also needs to change the rowHeight property to computerized dimension, in the event you do not do then the system will use a static cell peak – that one from interface builder that you would be able to set on the cell. Now construct & run. You’ve an exquisite desk view with self sizing cells. You possibly can even rotate your gadget, it may work in each orientations.
Another factor
In the event you change the textual content dimension underneath the iOS accessibility settings, the desk view will mirror the adjustments, so it will adapt the structure to the brand new worth. The font dimension of the desk view goes to alter in line with the slider worth. You may need to subscribe to the UIContentSizeCategory.didChangeNotification as a way to detect dimension adjustments and reload the UI. This characteristic is known as dynamic sort.
NotificationCenter.default.addObserver(
    self.tableView,
    selector: #selector(UITableView.reloadData),
    identify: UIContentSizeCategory.didChangeNotification,
    object: nil
)
UICollectionView
So we have completed the simple half. Now let’s attempt to obtain the identical performance with a set view. UICollectionView is a generic class, that’s designed to create customized layouts, due to this generic conduct you won’t be able to create self sizing cells from interface builder. You need to do it from code.
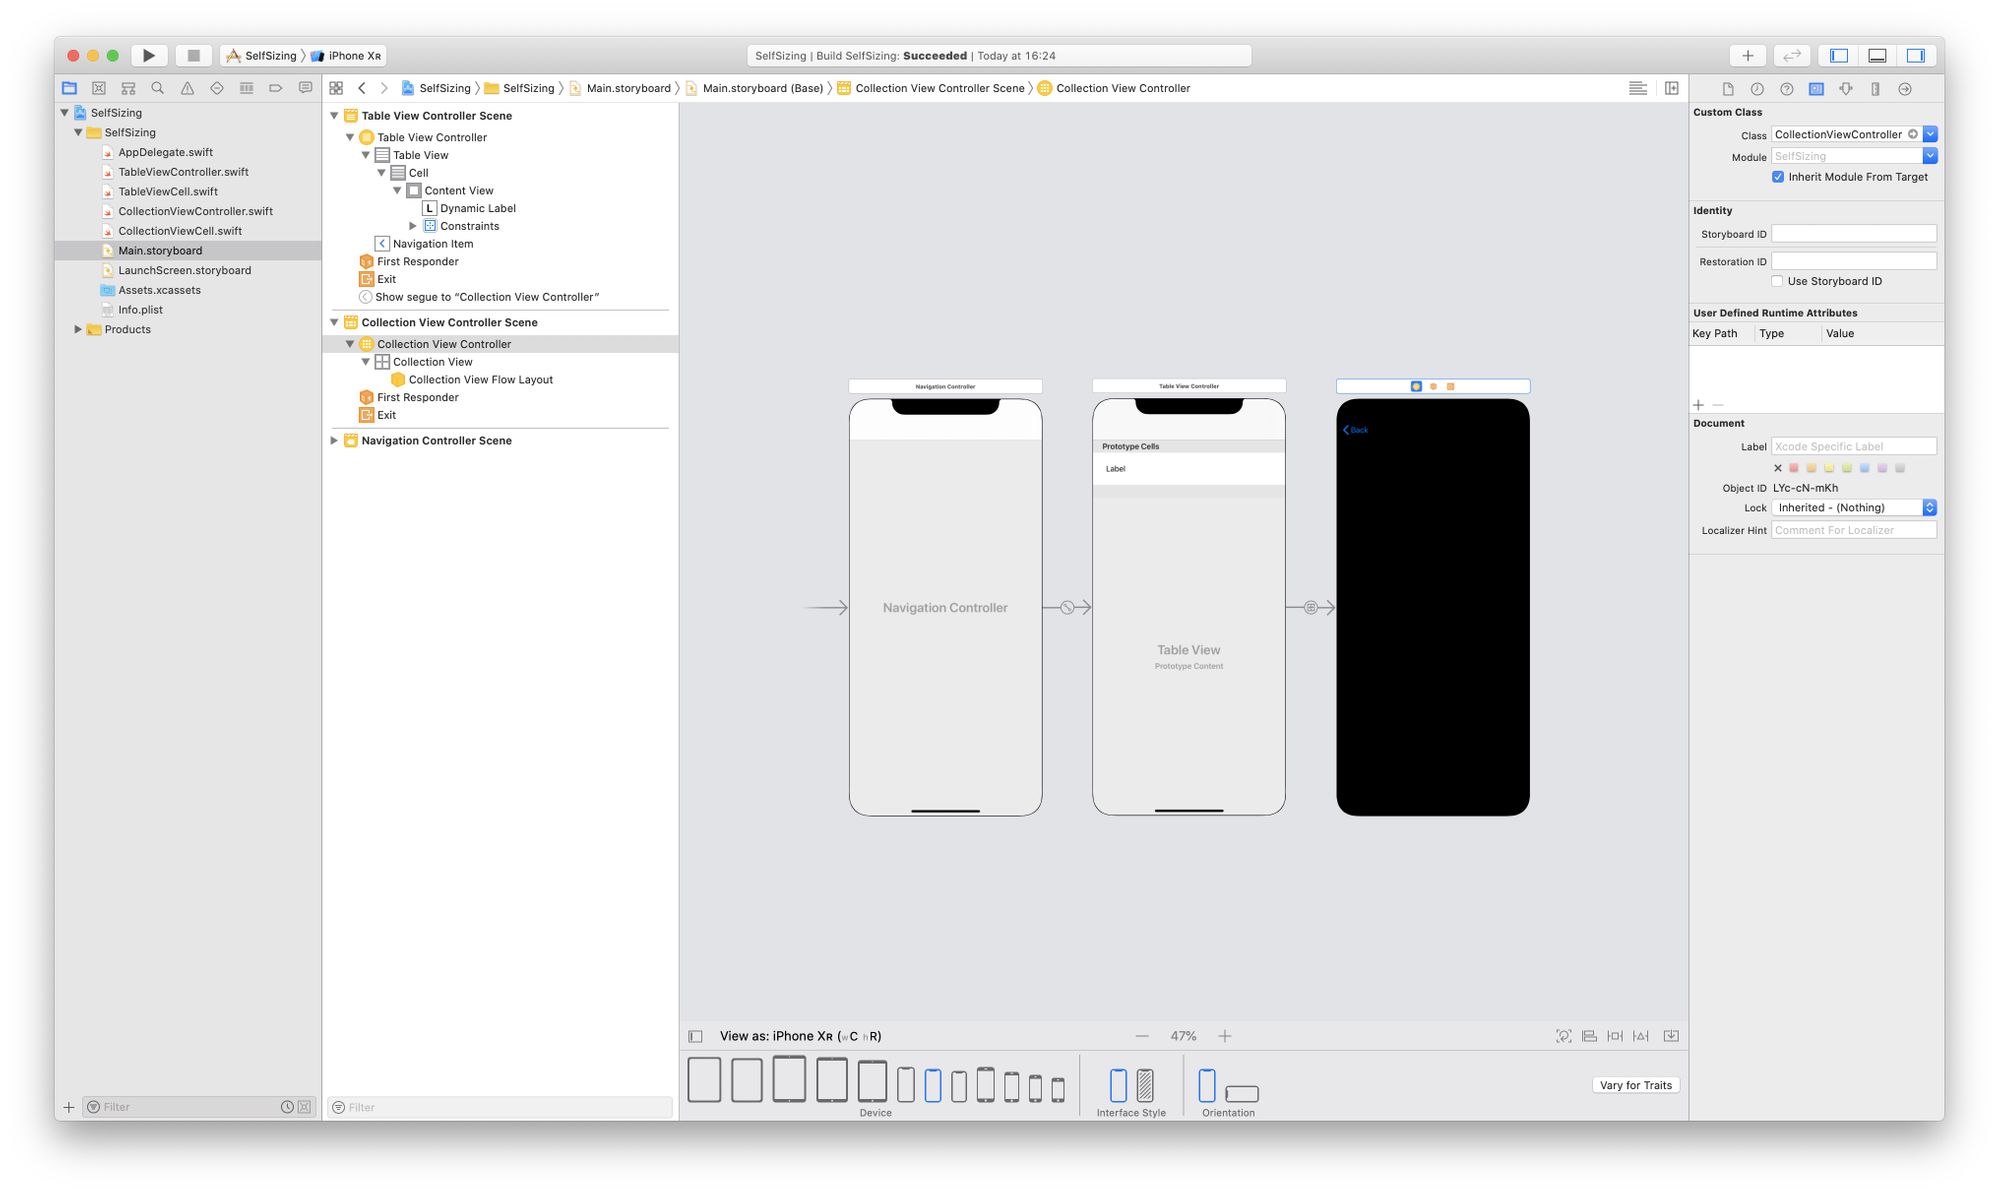
Earlier than we begin, we are able to nonetheless play with IB a bit bit. Create a brand new assortment view controller scene, and drag a push segue from the earlier desk view cell to this new controller. Lastly embed the entire thing in a navigation controller.
The cell goes to be the very same as we used for the desk view, nevertheless it’s a subclass of UICollectionViewCell, and we’re going to assemble the structure instantly from code.
class CollectionViewCell: UICollectionViewCell {

    weak var dynamicLabel: UILabel!

    required init?(coder aDecoder: NSCoder) {
        fatalError("init(coder:) has not been applied")
    }

    override init(body: CGRect) {
        tremendous.init(body: body)

        translatesAutoresizingMaskIntoConstraints = false

        let label = UILabel(body: bounds)
        label.translatesAutoresizingMaskIntoConstraints = false
        label.font = UIFont.preferredFont(forTextStyle: .physique)
        label.backgroundColor = UIColor.darkGray
        label.numberOfLines = 0
        label.preferredMaxLayoutWidth = body.dimension.width

        self.contentView.addSubview(label)
        self.dynamicLabel = label

        NSLayoutConstraint.activate([
            contentView.topAnchor.constraint(
                equalTo: dynamicLabel.topAnchor
            ),
            contentView.bottomAnchor.constraint(
                equalTo: dynamicLabel.bottomAnchor
            ),
            contentView.leadingAnchor.constraint(
                equalTo: dynamicLabel.leadingAnchor
            ),
            contentView.trailingAnchor.constraint(
                equalTo: dynamicLabel.trailingAnchor
            ),
        ])
    }

    override func prepareForReuse() {
        tremendous.prepareForReuse()

        dynamicLabel.font = UIFont.preferredFont(forTextStyle: .physique)
    }

    func setPreferred(width: CGFloat) {
        dynamicLabel.preferredMaxLayoutWidth = width
    }
}
We’ve a subclass for our cell, now let’s create the view controller class. Contained in the viewDidLoad methodology it’s a must to set the estimatedItemSize property on the gathering view. There in the event you give fallacious dimension, the auto-rotation will not work as anticipated.
override func viewDidLoad() {
    tremendous.viewDidLoad()

    navigationItem.rightBarButtonItem = UIBarButtonItem(
        barButtonSystemItem: .refresh,
        goal: self,
        motion: #selector(toggleColumns)
    )

    collectionView?.register(
        CollectionViewCell.self,
        forCellWithReuseIdentifier: "Cell"
    )

    if let flowLayout = collectionView?.collectionViewLayout as? UICollectionViewFlowLayout {
        flowLayout.itemSize = CGSize(width: 64, peak: 64)
        flowLayout.minimumInteritemSpacing = 10
        flowLayout.minimumLineSpacing = 20
        flowLayout.sectionInset = UIEdgeInsets(
            prime: 10,
            left: 10,
            backside: 10,
            proper: 10
        )
        flowLayout.estimatedItemSize = CGSize(
            width: preferredWith(forSize: view.bounds.dimension),
            peak: 64
        )
    }

    collectionView?.reloadData()

    NotificationCenter.default.addObserver(
        collectionView!,
        selector: #selector(UICollectionView.reloadData),
        identify: UIContentSizeCategory.didChangeNotification,
        object: nil
    )
}
Contained in the rotation strategies, it’s a must to invalidate the gathering view structure, and recalculate the seen cell sizes when the transition occurs.
override func traitCollectionDidChange(
    _ previousTraitCollection: UITraitCollection?
) {
    tremendous.traitCollectionDidChange(previousTraitCollection)

    guard
        let previousTraitCollection = previousTraitCollection,
        traitCollection.verticalSizeClass != previousTraitCollection.verticalSizeClass ||
        traitCollection.horizontalSizeClass != previousTraitCollection.horizontalSizeClass
    else {
        return
    }

    collectionView?.collectionViewLayout.invalidateLayout()
    collectionView?.reloadData()
}

override func viewWillTransition(
    to dimension: CGSize,
    with coordinator: UIViewControllerTransitionCoordinator
) {
    tremendous.viewWillTransition(to: dimension, with: coordinator)

    collectionView?.collectionViewLayout.invalidateLayout()
    estimateVisibleCellSizes(to: dimension)

    coordinator.animate(alongsideTransition: { context in

    }, completion: { context in
        collectionView?.collectionViewLayout.invalidateLayout()
    })
}
There are two helper strategies to calculate the popular width for the estimated merchandise dimension and to recalculate the seen cell sizes.
func preferredWith(forSize dimension: CGSize) -> CGFloat {
    var columnFactor: CGFloat = 1.0
    if twoColumns {
        columnFactor = 2.0
    }
    return (dimension.width - 30) / columnFactor
}

func estimateVisibleCellSizes(to dimension: CGSize) {
    guard let collectionView else {
        return
    }

    if let flowLayout = collectionView?.collectionViewLayout as? UICollectionViewFlowLayout {
        flowLayout.estimatedItemSize = CGSize(
            width: preferredWith(forSize: dimension),
            peak: 64
        )
    }

    collectionView.visibleCells.forEach { cell in
        if let cell = cell as? CollectionViewCell {
            cell.setPreferred(width: preferredWith(forSize: dimension))
        }
    }
}
You possibly can even have a number of columns in the event you do the suitable calculations.
There is just one factor that I couldn’t remedy, however that is only a log message. In the event you rotate again the gadget among the cells are usually not going to be seen and the structure engine will complain about that these cells can’t be snapshotted.
Snapshotting a view that has not been rendered leads to an empty snapshot. Guarantee your view has been rendered no less than as soon as earlier than snapshotting or snapshot after display updates.
If you can also make this message disappear one way or the other OS_ACTIVITY_MODE=disable, please do not hesitate to submit a pull request for the tutorials repository on GitHub. 😉