

The macOS Sonoma beta is tantalizing — till you discover a show-stopping drawback along with your workflow. Here is how to return to macOS Ventura.
Not less than inform us you backed up your Mac earlier than you put in the macOS 14 beta. When you did not, then the percentages are that you’re going to be greatest off sticking with macOS Sonoma as an alternative of making an attempt to downgrade.
That is as a result of downgrading requires you to wipe your Mac totally. So you would try this after which reinstall your apps and paperwork, hoping that every part is in iCloud, however at greatest it will be gradual.
Even in the event you do have a backup, you are not going to modify to macOS Ventura in 5 minutes.
However in the event you should downgrade from the macOS Sonoma beta, essentially the most simple method is to erase the Mac, after which begin from scratch in Restoration Mode.

Find out how to uninstall macOS Sonoma on Apple Silicon Macs
- Shut down the Mac
- Restart the Mac by urgent and holding Energy (on Intel Macs, press Energy, then maintain Command-R)
- On the display screen that ultimately seems, select Choices and click on Proceed
- When prompted, enter the password on your consumer account
- Do not select the reinstall macOS choice when provided
- As a substitute, click on on Disk Utility, after which Proceed
- Select the very high degree of the laborious drive displayed, then click on Erase
- Enter a reputation on your Mac and click on the brand new Erase button
- Verify — twice — that you’re sure you need to do that
- When prompted, select a Wi-Fi community for the Mac to affix
- After a second, your Mac is activated and you may click on Exit to Restoration
- Now select Reinstall macOS Ventura
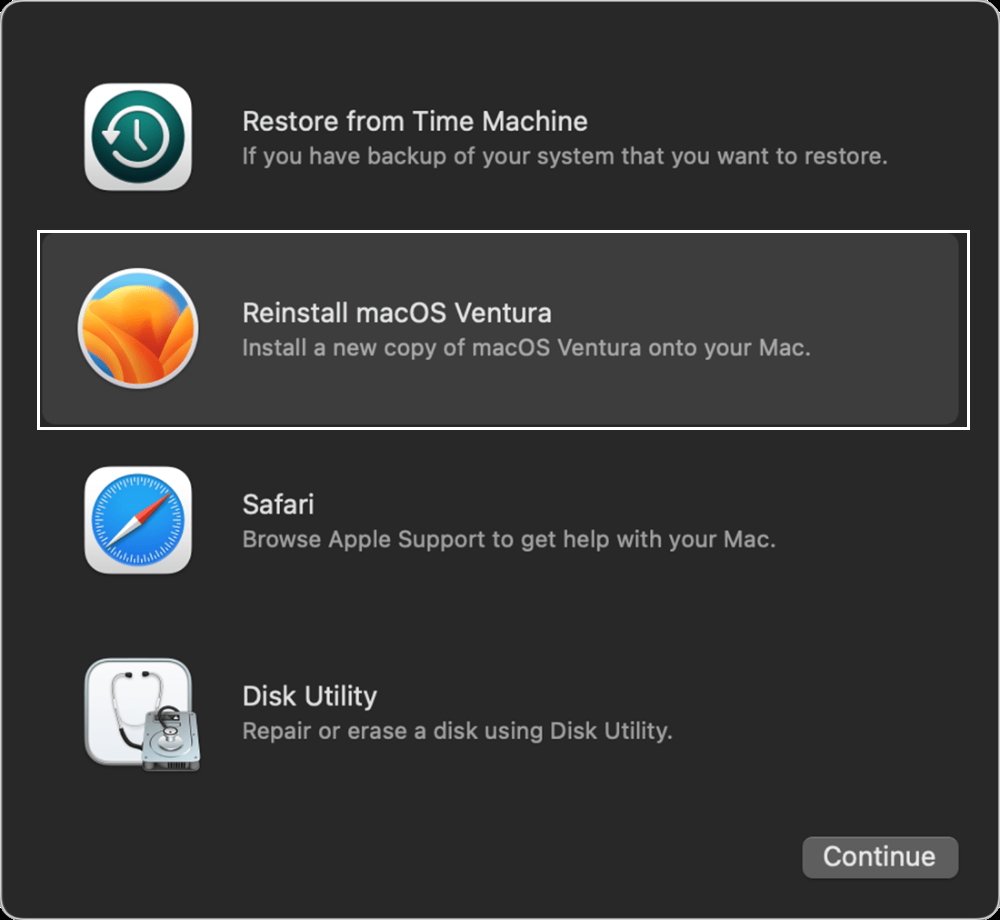
After you have erased your Mac and entered Restoration Mode, you get the choice to put in macOS Ventura
It will obtain a duplicate of macOS Ventura and set up it. Be aware that it is roughly a 12GB obtain. So, relying in your web connection, this might even take a few hours.