

The Preview function in SwiftUI permits builders to see what their app will seem like in real-time, with out having to run the app on a tool or simulator. This function is extremely helpful for builders who wish to shortly iterate on their designs and ensure all the things seems and capabilities as meant. With the introduction of Macros in iOS 17, the Preview function has develop into much more highly effective and versatile, permitting for much more customization and adaptability. On this article, we’ll discover how you can use the brand new Preview Macro in SwiftUI and check out a few of its thrilling new options.
The SwiftUI #Preview Macro
Previous to the introduction of the brand new #Preview macro, you outline a construction that conforms to the PreviewProvider protocol to create a preview of a view. Right here is an instance:
|
struct ContentView_Previews: PreviewProvider { static var previews: some View { ContentView() } } |
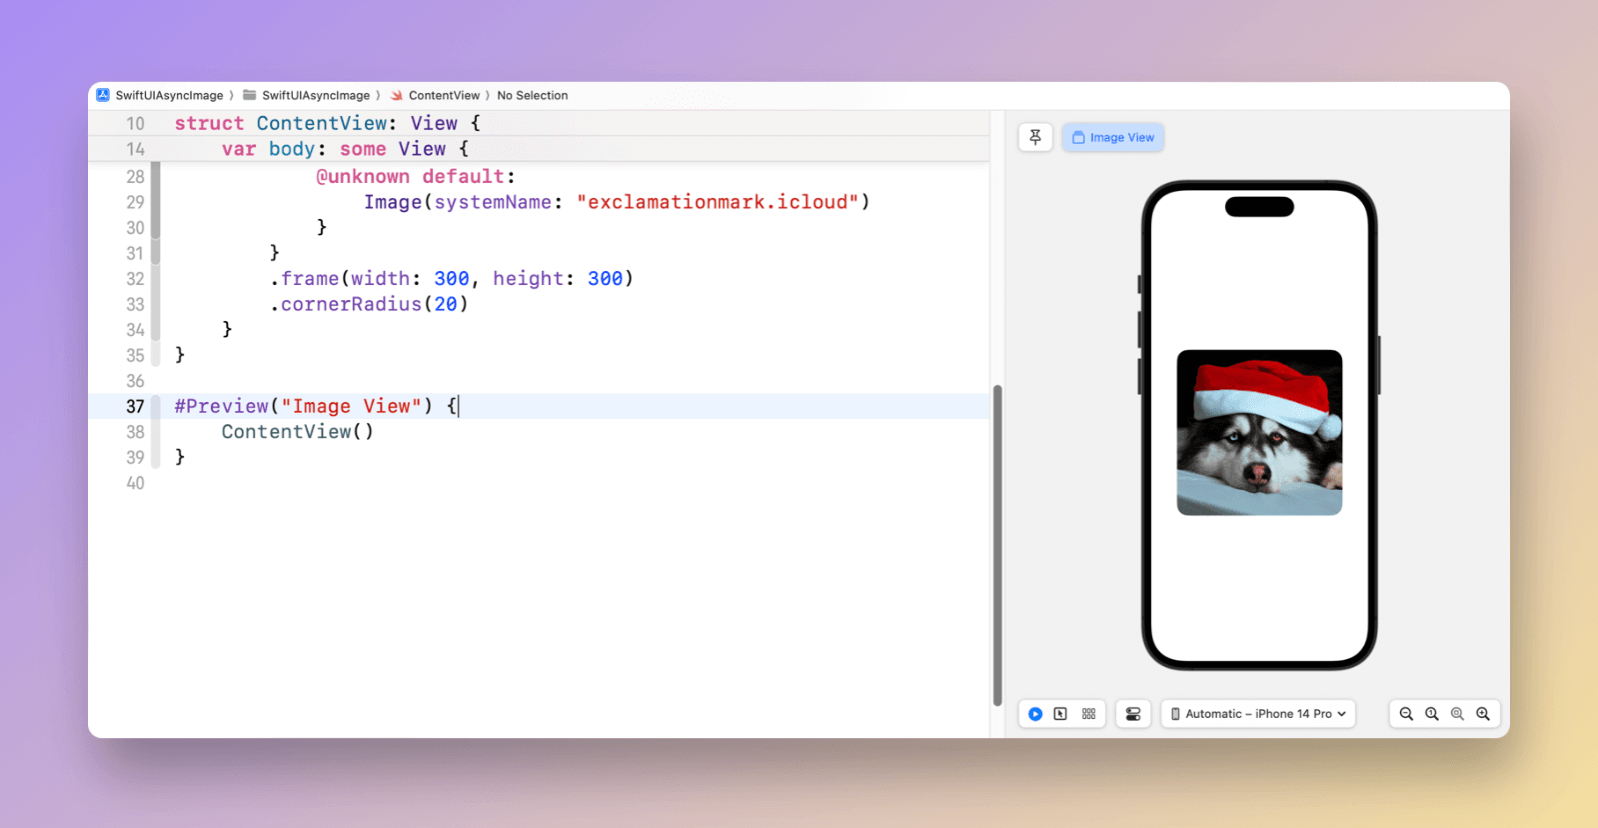
With the #Preview macros, you inform Xcode to create a preview like this:
|
// The essential syntax #Preview { ContentView() }
// Configure the preview’s identify #Preview(“Pie Chart View”) { PieChartView() } |
As you may see, #Preview simplifies the way in which we outline previews. Optionally, you may move the #Preview macro a reputation to configure the preview’s identify.
You need to use this to arrange a preview for any view as wanted. Xcode will then render the preview, which can seem straight within the canvas.
Previewing A number of Views
When utilizing PreviewProvider, you may embed a number of views to preview utilizing Group.
|
struct ArticleView_Previews: PreviewProvider { static var previews: some View { Group { ArticleListView() .previewDisplayName(“Article Checklist View”)
ArticleView() .previewDisplayName(“Article View”) } } } |
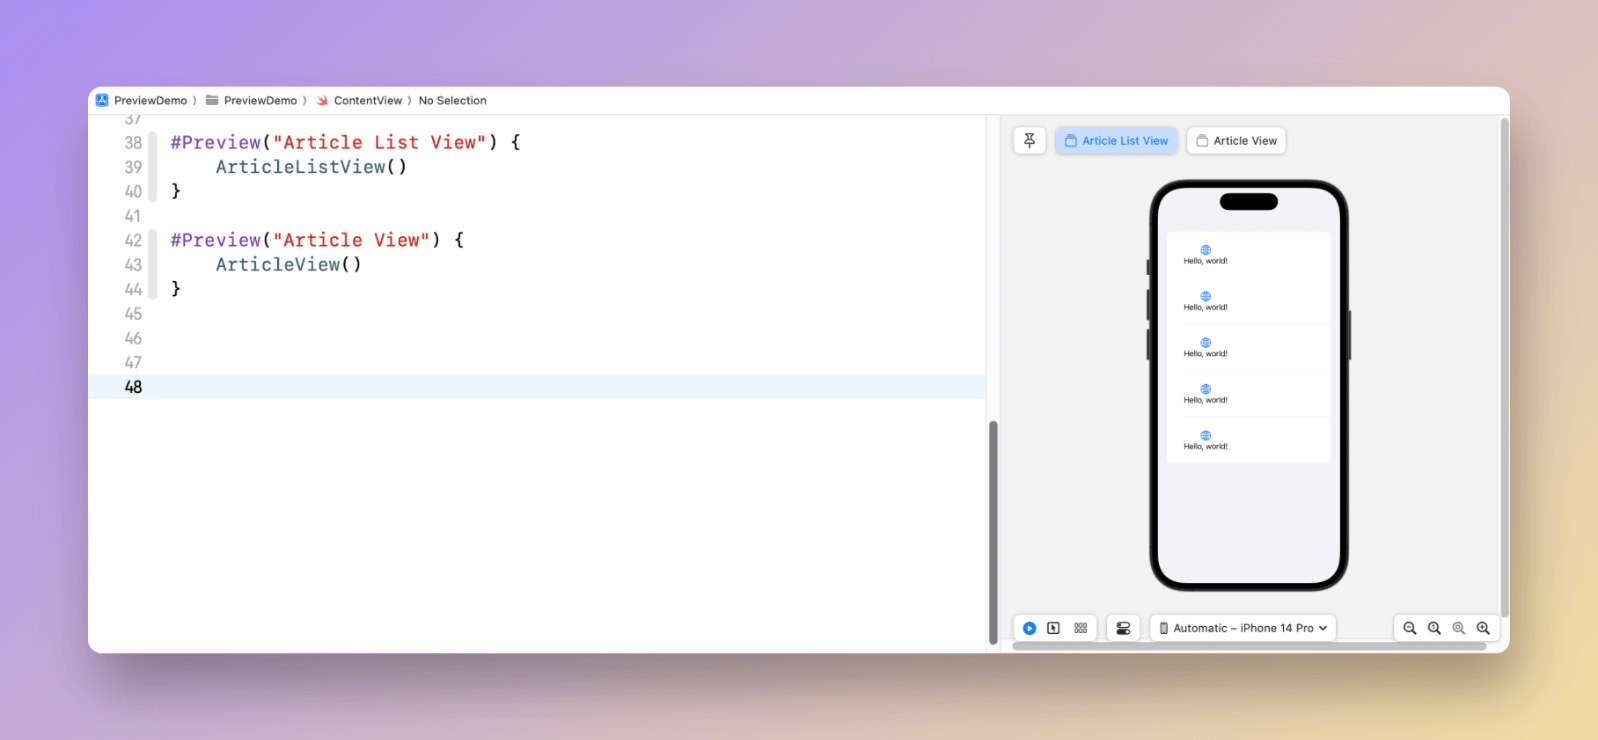
For those who use the #Preview macro, you may outline a number of blocks of #Preview sections. For instance, to preview each ArticleListView and ArticleView, you may create two #Preview code blocks as follows:
|
#Preview(“Article Checklist View”) { ArticleListView() }
#Preview(“Article View”) { ArticleView() } |
Preview Views in Panorama Orientation
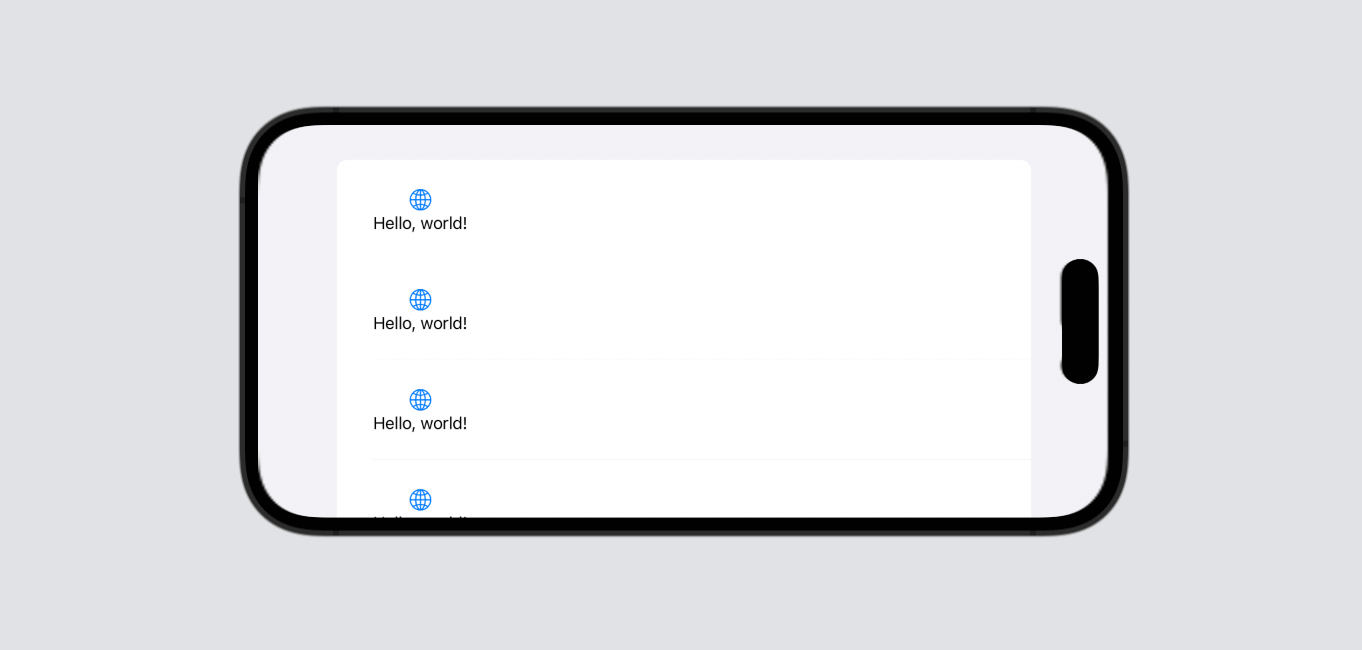
The #Preview macro has an elective traits parameter that permits builders to customise the orientation of the simulator. To preview views in panorama mode, you may move .landscapeLeft or .landscapeRight to the traits parameter. Right here is an instance:
|
#Preview(“Article Checklist View”, traits: .landscapeLeft) { ArticleListView() } |
Preview with out Machine Body and Fastened Structure
The traits parameters can take one other worth named .sizeThatFitsLayout so as to preview the view with none machine body.

On high of .sizeThatFitsLayout, you can too use .fixedLayout to preview the view in a selected dimension.
|
#Preview(“Article Checklist View”, traits: .fixedLayout(width: 300, peak: 300)) { ArticleListView() } |
Writing UIKit Previews
The Preview function is now not restricted to SwiftUI. Even for those who use UIKit, you may arrange a preview to your UIKit views or view controllers utilizing the #Preview macro. To preview a view controller, you may instantiate it within the code block:
|
#Preview { var controller = ViewController()
return controller } |
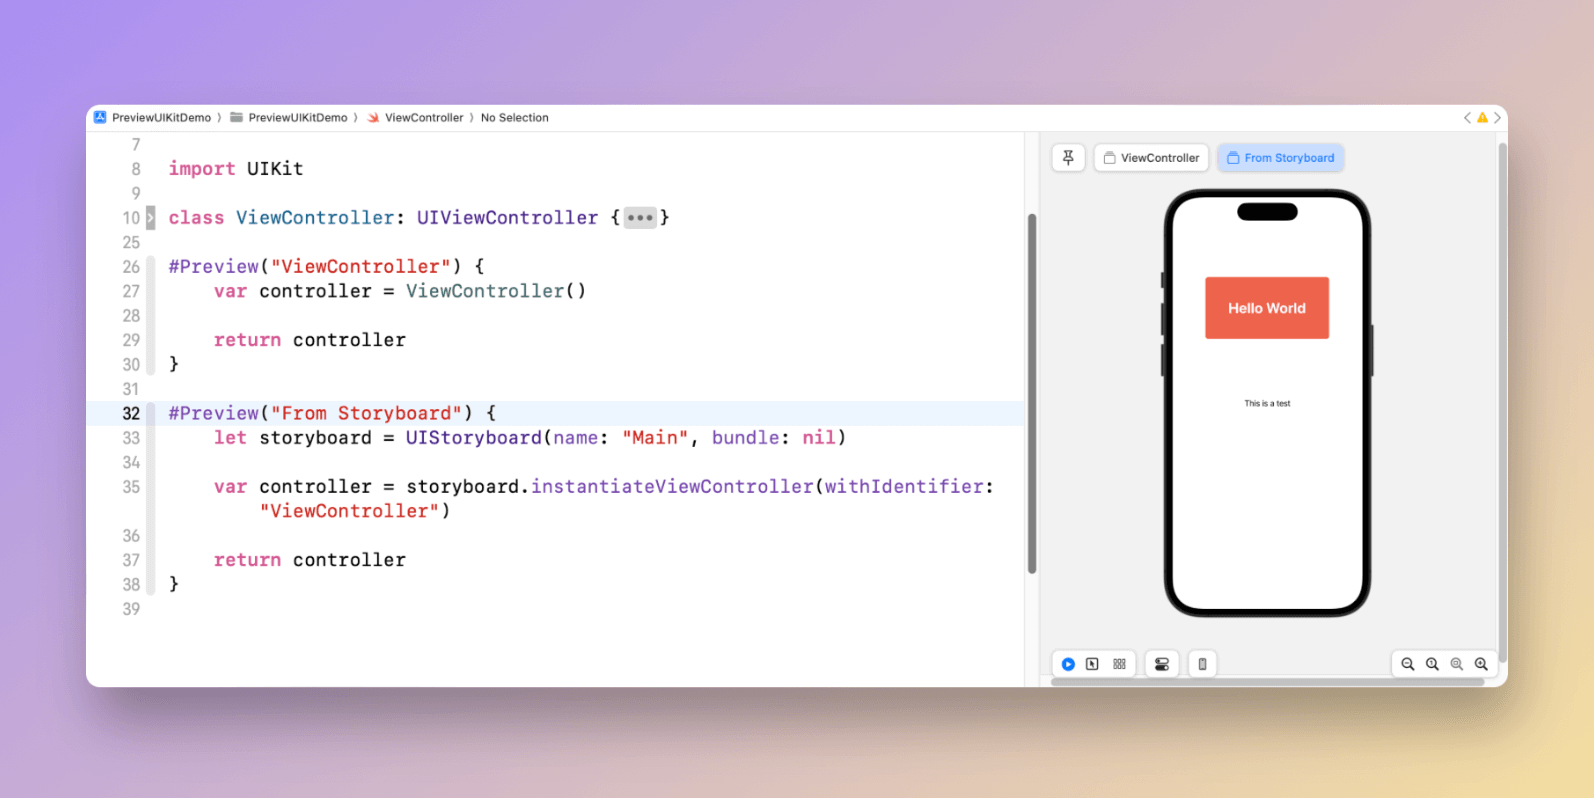
In case your view controller is designed within the storyboard, you can too preview it utilizing the macro. Right here is the pattern code snippet:
|
#Preview(“From Storyboard”) { let storyboard = UIStoryboard(identify: “Primary”, bundle: nil)
var controller = storyboard.instantiateViewController(withIdentifier: “ViewController”)
return controller } |
Assuming you’ve got assigned a storyboard ID for the view controller, you may create the view controller utilizing the instantiateViewController technique. That is how you utilize #Preview to preview a UIKit view controller.
Abstract
The Preview function in SwiftUI permits builders to see what their app will seem like in real-time, with out having to run the app on a tool or simulator. The #Preview macro launched in iOS 17 makes the preview code cleaner and less complicated. It has develop into much more highly effective and versatile, permitting you to preview views developed in UIKit.
For those who get pleasure from studying this tutorial, don’t neglect to take a look at our Mastering SwiftUI ebook.

Founding father of AppCoda. Creator of a number of iOS programming books together with Starting iOS Programming with Swift and Mastering SwiftUI. iOS App Developer and Blogger. Observe me at Fb, Twitter and Google+.