

In a earlier tutorial, we took a deep dive into creating a picture carousel from scratch. We utilized elementary SwiftUI views like stack views and geometry readers to craft a dynamic carousel UI that labored seamlessly throughout older iOS variations.
Nevertheless, in case your app completely targets the most recent iOS model, there isn’t a have to embark on a ground-up implementation of the picture carousel. With the most recent developments in SwiftUI, now you can simply create the identical fluid carousel UI with considerably much less code. With the arrival of iOS 17, the built-in ScrollView introduces an intuitive paging function, empowering builders to construct picture carousels and comparable UI layouts with just a few traces of code.
On this tutorial, we are going to present you the way to create an analogous carousel UI utilizing the brand new model of ScrollView. You’ll be impressed by how little code is required to perform this.
Let’s get began.
Constructing a Carousel UI with ScrollView and LazyHStack
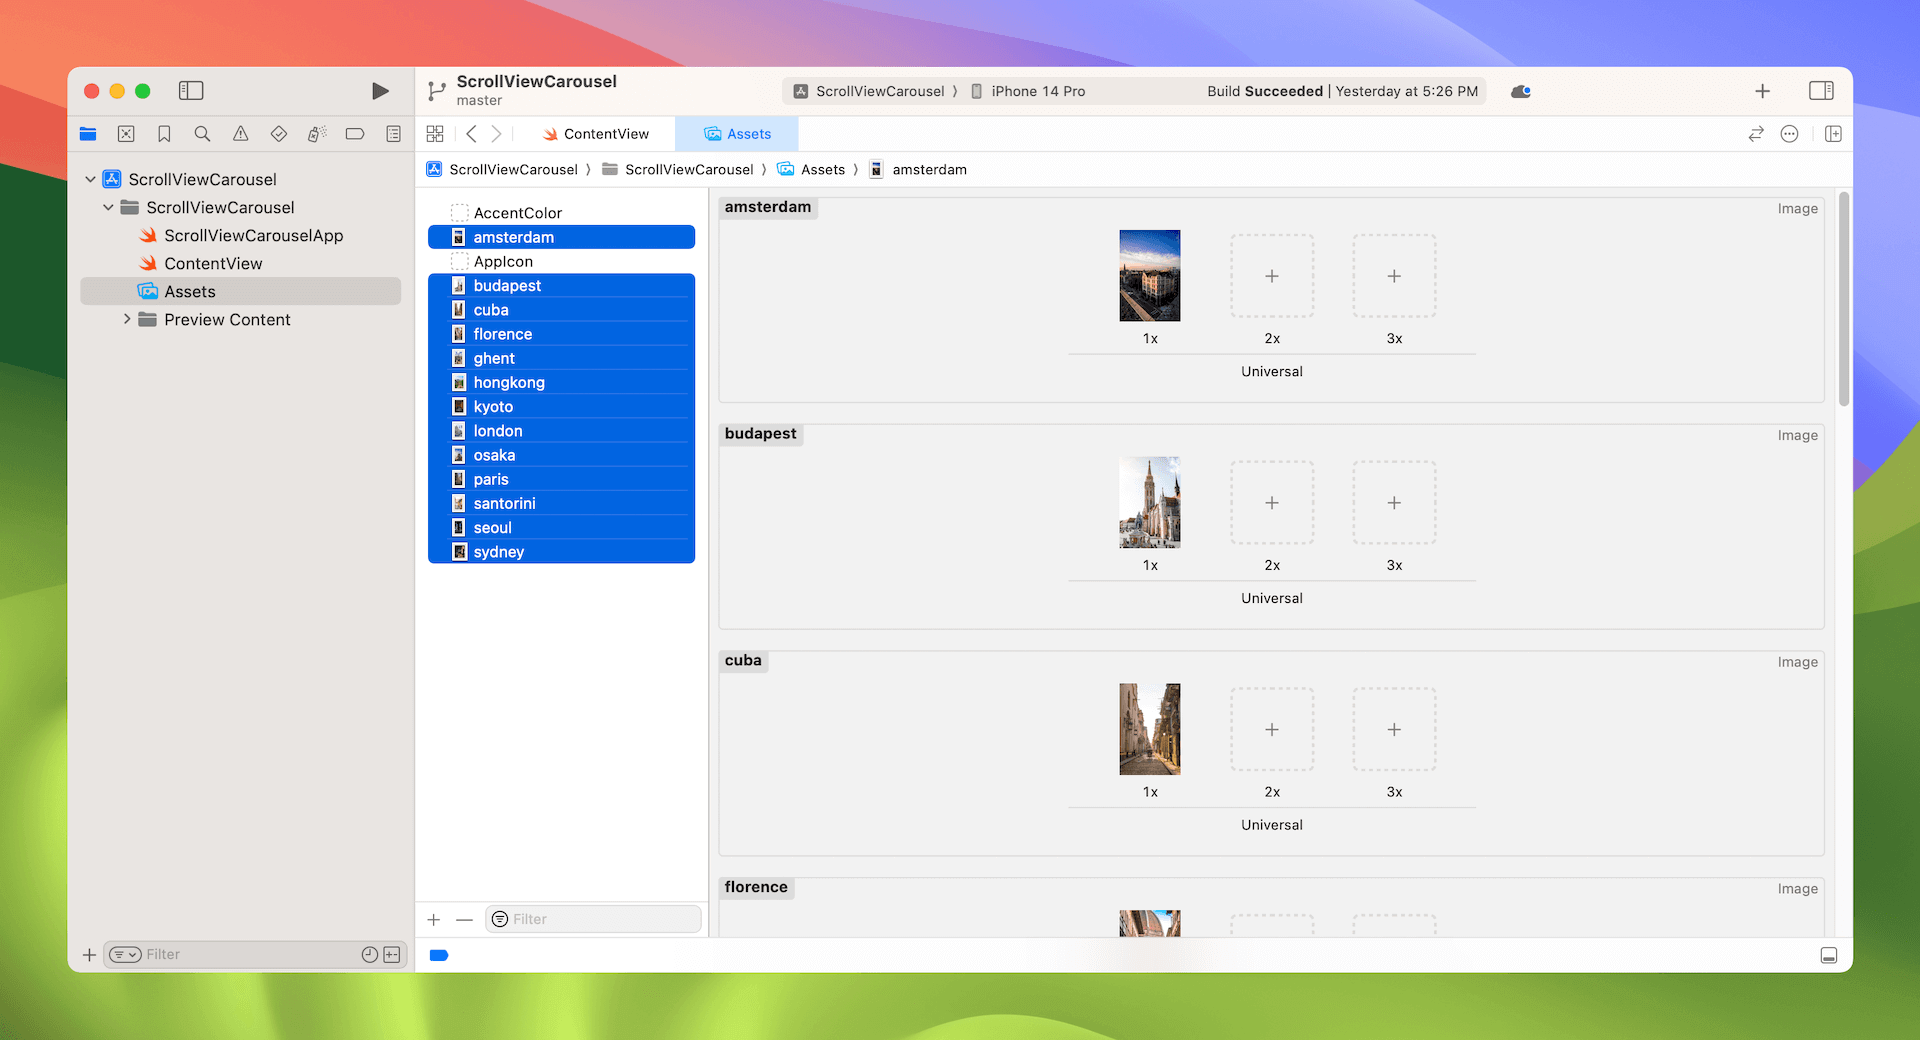
Assuming you will have created a SwiftUI venture and imported a set of pictures into the asset catalog, you may create a easy carousel UI utilizing horizontal ScrollView and LazyHStack. Here’s a pattern code snippet:
|
1 2 3 4 5 6 7 8 9 10 11 12 13 14 15 16 17 18 19 20 21 22 23 24 25 26 27 28 29 30 31 32 33 |
struct ContentView: View {
personal let sampleTrips = [ “paris”, “florence”, “amsterdam”, “ghent”, “santorini”, “budapest”, “london”, “cuba”, “osaka”, “kyoto”, “seoul”, “sydney”, “hongkong” ]
var physique: some View { ScrollView(.horizontal) { LazyHStack(spacing: 0) { ForEach(sampleTrips, id: .self) { journey in
Picture(journey) .resizable() .scaledToFill() .body(peak: 450) .clipShape(RoundedRectangle(cornerRadius: 25.0)) .padding(.horizontal, 20)
} } } } } |
The implementation could be very simple. We make the most of a LazyHStack view to horizontally prepare a set of pictures, and a horizontal scroll view to handle the scrolling operation. Within the preview canvas, you need to be capable to swipe left (or proper) to scroll by the pictures.

Utilizing Container Relative Body
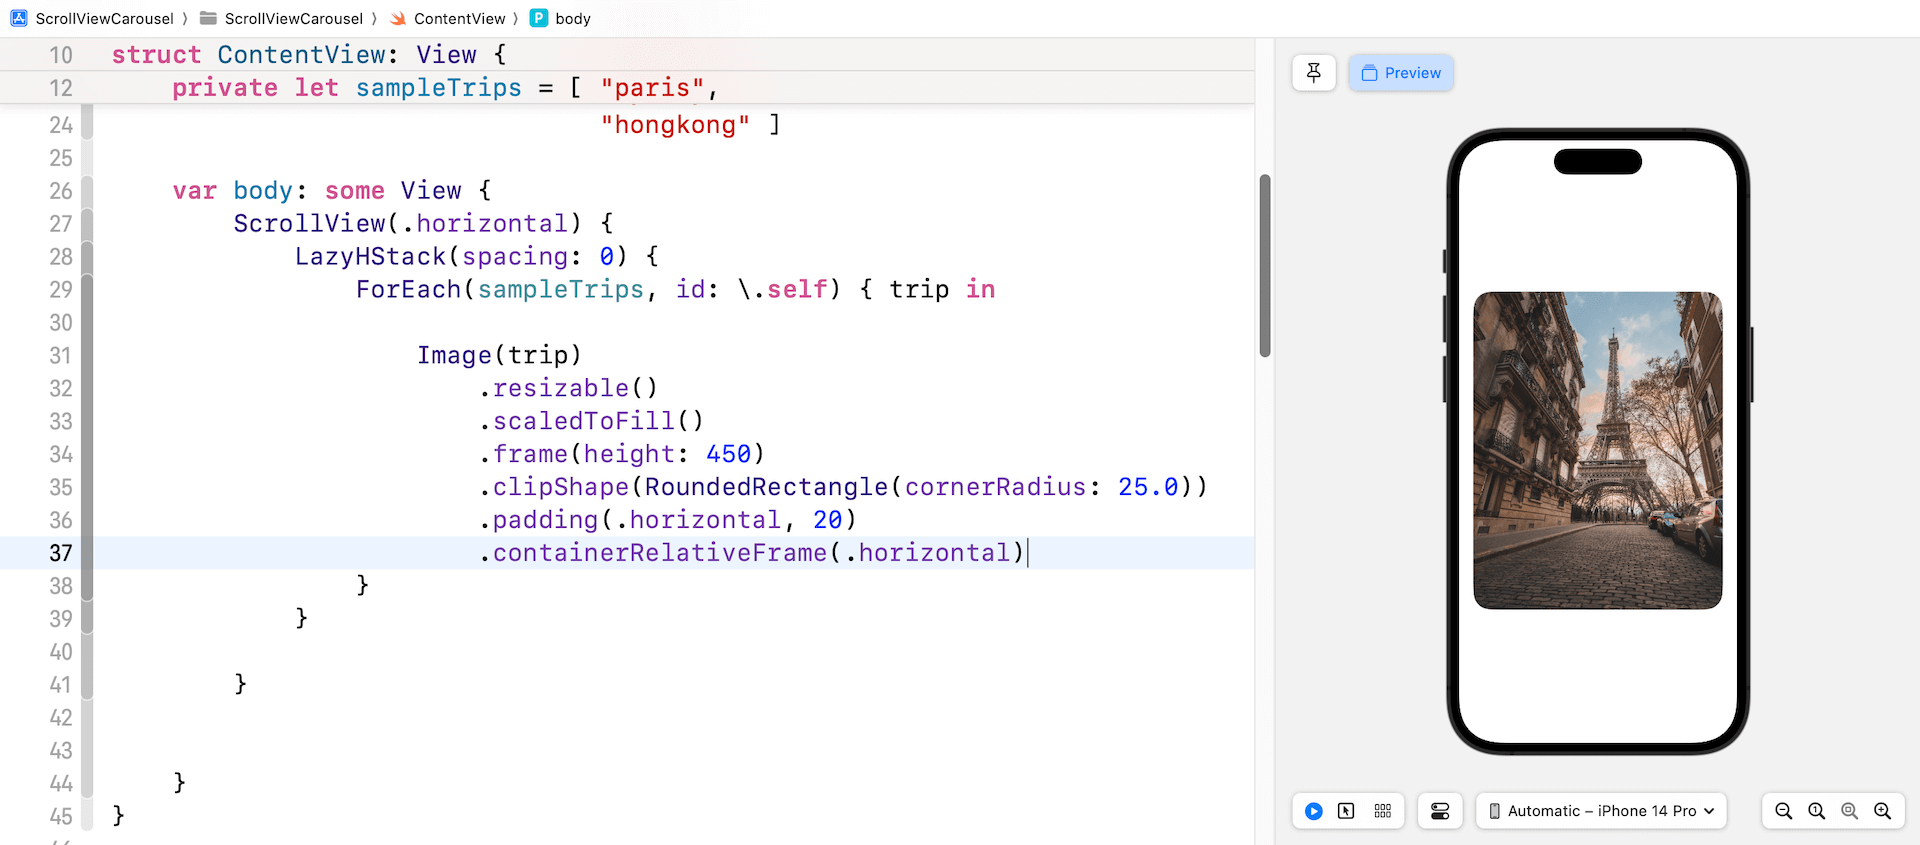
You might discover that every picture doesn’t broaden to occupy all the display width. Due to this fact, earlier than implementing the paging function, allow us to deal with this difficulty first.
In iOS 17, SwiftUI introduces a brand new modifier named containerRelativeFrame. By attaching this modifier to the Picture view, the picture routinely takes up all of the obtainable house. As an choice, you may specify the axis for this enlargement.
As an example, should you connect the containerRelativeFrame modifier to the Picture view, the picture will broaden to take up the width of the display.
Allow Paging Management
With the upcoming launch of iOS 17, enabling paging management for a scroll view turns into extremely simple with only one line of code. The brand new scrollTargetBehavior modifier permits builders to effortlessly set the scroll conduct of ScrollView. To allow paging, all you must do is connect the scrollTargetBehavior modifier to the ScrollView and set its worth to .paging:
|
ScrollView(.horizontal) { . . . } .scrollTargetBehavior(.paging) |
Alternatively, you may set the worth to .viewAligned and connect the scrollTargetLayout modifier to the stack view:
|
ScrollView(.horizontal) { LazyHStack(spacing: 0) { . . . } .scrollTargetLayout()
} .scrollTargetBehavior(.viewAligned) |
Each approaches create an analogous paging animation. You possibly can take a look at it within the preview canvas.

Animating the Scroll Transition
To reinforce the consumer expertise, let’s incorporate a pleasant animation when transitioning between pictures. In our earlier tutorial, we launched the scrollTransition modifier, which lets you observe view transitions and apply animated results. We are going to leverage this modifier to animate the picture transition and create a extra participating consumer expertise.
Insert the next traces of code and place it under the containerRelativeFrame modifier:
|
.scrollTransition(.animated, axis: .horizontal) { content material, part in content material .opacity(part.isIdentity ? 1.0 : 0.8) .scaleEffect(part.isIdentity ? 1.0 : 0.8) } |
The scrollTransition modifier allows us to observe the transition between picture views. When the picture view isn’t within the id part, we make the picture view smaller and extra clear. As soon as the picture view has accomplished its entrance onto the display, we reset each the opacity and measurement to their authentic state. This outcomes a clean and chic animated transition.

Abstract
Compared to the earlier tutorial, this tutorial is considerably shorter. The up to date model of ScrollView, geared up with paging assist and scroll transition, simplifies the creation of carousel consumer interfaces. Nevertheless, you will need to word that this new function is barely accessible on iOS 17 or later. In case your app requires to assist older variations of iOS, you might have to confer with this tutorial and use basis SwiftUI views to create the picture carousel.
If you wish to dive deeper into SwiftUI, don’t neglect to take a look at our Mastering SwiftUI e book.